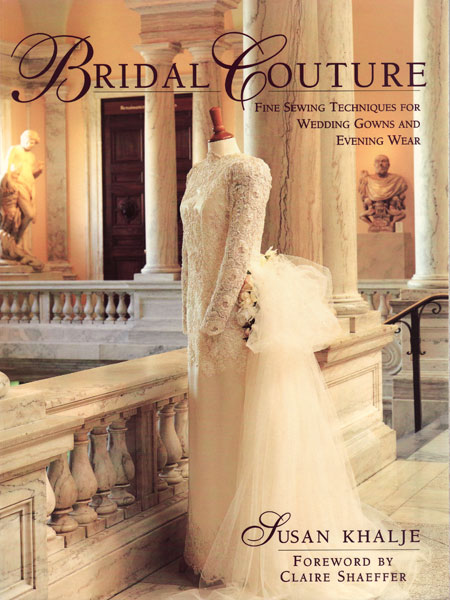
Bridal Couture

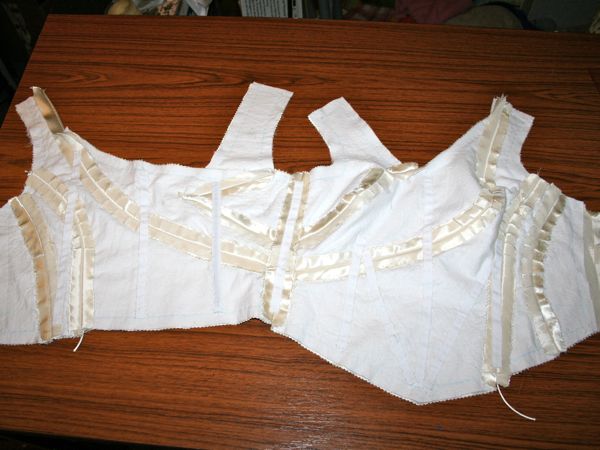
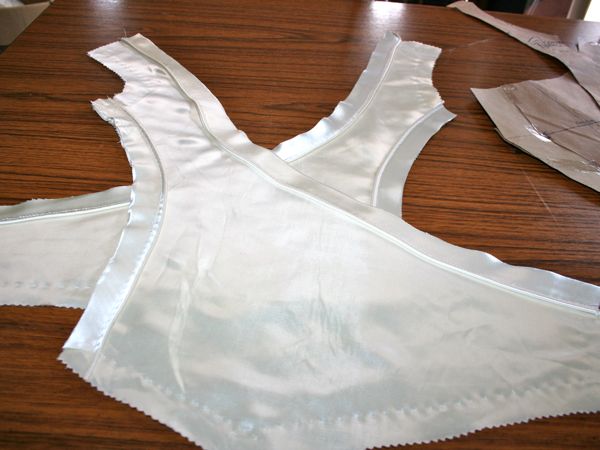
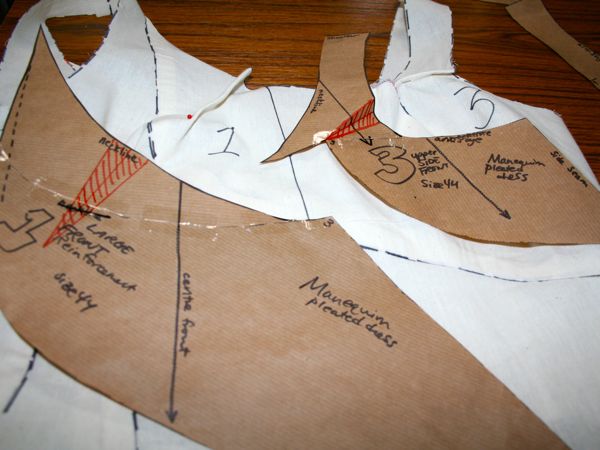
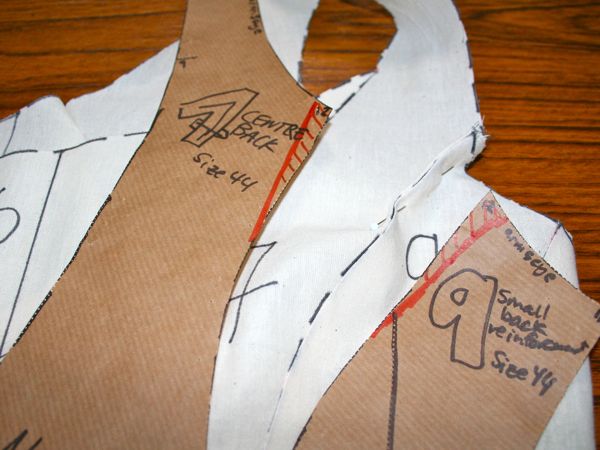
I’m in downtown Muslin City at the moment, between the bridesmaids dresses and the very belated birthday dress for my (future) sister in law. So far I’ve made the FSIL’s muslin, had her try it on, and altered the pattern pieces according to the two changes we’re making (which was a pleasant surprise – it fit really well!). And on the bridesmaid front, I’ve completed both bodices and attached one to the skirt in preparation for Pip to try it on this weekend. Since the skirt is so enormously long, I actually didn’t have enough muslin fabric to make a skirt for each muslin. So I’m just going to swap the skirt out and attach it to the other bodice after fitting the first one (it’s a very loose design so the fact that it’s 2 sizes off doesn’t matter much!).

Can you believe I’ve gone through 8m of white viscose knit muslin fabric, between a top, my birthday dress, the FSIL’s dress, and the two bridesmaids dresses?? Wowza.

Anyway, while I’m sewing up muslins, there isn’t much to show off (I don’t mind putting photos of myself up in little more than a bedsheet, but it’d something else to subject your friends to that!) but I’ve got a ton of good sewing books to report on, so you’ll be enjoying a few good books with me over the next week or so…

So to start things off, we’re going to stay on the wedding theme with Susan Khalje’s Bridal Couture, a book so amazing that it fetches RIDICULOUS prices online. It’s been out of print for years (also contributing to the resale value), but the copyright has just reverted back to Susan Khalje, and she is is self-publishing this on CD – you can preorder it here for delivery next month.

Bridal bodice – finishing the edges, waist stay, and zipper

The next step in my epic wedding gown project was to properly finish the neckline and armhole edges in advance of the lining. Instead of most lined garments where you construct the outer shell, construct the inner shell, then place the two together, right sides facing and sew around the opening edges, in this case Bridal Couture advises us to construct the outer shell, fold in the opening edge seam allowances, then create the lining, with the opening edges similarly folded inside, and then place the two together wrong sides facing and very carefully fell-stitch along the opening edges, prickstitching the lining where necessary.

So here are the neckline and armhole opening edges, nicely clipped, pressed, and catchstitched:

The next step was to add the waist stay, tacked to the boning channels with bottom edge of grosgrain on the marked waistline:

Bridal bodice – boning

With the seams (mostly) constructed and all the seam allowances tacked down, it was time for the boning! Bridal Couture assumes that you’ve got a fairly standard princess-seamed bodice and so advises that you sew the channels to the centre of the underlining pieces at the very beginning before attaching the underlining to the fashion fabric. But my bodice has all sorts of crazy seams and the boning crosses over a bunch of seamlines, so I had to obviously apply my channels after the main seams were stitched, as Susan Khalje advises in this Threads article.

I was originally thinking to make my own channels with silk organza, but then I saw that the Sewing Chest had pre-made and seam-free cotton channels so I bought those and ended up going with that instead to save myself some time. And as Ms Khalje talks about using them herself, I figured it’s okay!

So I started a production line – first I sewed the end of the channel closed with the sewing machine, then I carefully pinned the channel to the bodice underlining where it was needed, then cut the end just before the seamline at the bottom of the bodice. Once all the channels were in place, I then catchstitched them all to the flannel underlining, keeping the bottom free to insert the boning.

Here you can see all the channels, minus the one going on the zipper tape (to be attached after the zipper is in place):

Bridal bodice – Piping and basting

…in which I work with more piping than a plumber and more basting than a Thanksgiving dinner!

When I last checked in, I had cut and prepped all the pieces of the bodice, so it was now the point in my plan to sort out the piping if I was going to do so (and you’ve probably rightly concluded from the title that I did!). I had about 80cm of piping from the original dress’s waist seam, but I realised this wouldn’t be enough to pipe both sides of pieces #2 and #7 like I’d planned. So before I could do anything, I had to make some piping!

Luckily, the dress’s collar pieces were nice and long and on the bias, so this was a piece of cake. I cut four strips of 5cm wide and joined the edges together to make one long strip, then inserted my 2m of satin rattail and ran the whole thing through the sewing machine with the zipper foot.

But as I’ve already established, I can’t be making errant needle holes nor can I afford to use the seam ripper any more than what’s absolutely necessary, so in order to get the piping inserted perfectly on the first try, some hand basting was in order.

First, I basted the piping to one of the pieces, aligning the piping’s stitches with the basted seam lines:

And I did that for all four piped seams:

Yet another bridal bodice muslin

I’m no big fan of muslins and fitting tweaks, so the title is really reflecting my impatience at still being in the fitting stage. I want to get on with the fun stuff! But I also really want to get the fit and design perfect here as I can’t really go unpicking the vintage satin (the needle holes remain), so here I am, still soldiering on, though hopefully not for much longer…

Yesterday was my day off so I devoted pretty much the entire day to this dress. Right after breakfast I made up Muslin #2 (not shown because no one was around to photograph me), which incorporated the neckline changes and better-drafted add-on straps. There’s no photos, but essentially, I just needed to pinch some fabric out in three places, which you can see here shaded in orange on my pattern pieces:

So I made those changes to my paper pattern, unpicked pieces 1 and 3 from the muslin, cut new ones out, and reattached them, bringing us to Muslin #3. And I was pretty happy with the fit, apart from a bulge above my right breast which I immediately knew the cause of and fixed it on the paper pattern.

Bridal planning update

Apologies but this is a bit of a “brain dump” post as I’m understandably a bit frazzled right now, with the BurdaStyle book deadline looming on top of wedding planning and everything else I seem to list every time I post (ahh, just thinking about it is starting to stress me out, sorry!).

So I haven’t done much tangible work on my gown since I last updated because I’ve been focusing on getting the BS book dress done since it has a more immediate deadline, but I’ve been doing lots of mental sewing on the gown. Which, you’ll remember, is half the battle for me. So I took an evening out to read (really read and digest!) through “Bridal Couture” by Susan Khalje and the OOP Palmer/Pletsch “Bridal Gowns—How to Make the Wedding Dress of Your Dreams” book (the former being way way more useful than the latter IMHO). I placed copious amounts of Post-It notes sticking out the edges at places I want to refer back to later.

I’m also really glad I ended up taking that PR online Underlining class a few months ago now!! Though I just looked to see if I could link to the Underlining class somehow, and I noticed Susan Khalje herself is teaching a “Wedding Gowns 101” class starting Aug 15. If it were a few months earlier, I’d have jumped all over it, but you need time to devote to the classes most evenings and I’ll need all the time I can get to work on my gown!

After reading through the two books I had everything mostly straight in my head about this dress, but the boning placement still puzzled me because my pattern doesn’t have any obvious vertical seaming to place the boning along, and all three examples in Bridal Couture had some sort of princess seaming. Luckily for me, it was easily solved on the PR messageboard and by this Susan Khalje article, so I’ve got a full gameplan in my head now for the dress!

Bridal Bodice update

When you last heard about my wedding gown, it was two years ago(!!) and I was leaning towards turning my Granny’s gown from 1949 into something with a cowl neck, deep back, and sleek lines, using Vogue 2965 as my starting point.

But recently I’ve been looking more closely at the fabric I’ve got to work with in my grandmother’s gown, and my recent cowl sewing adventure has reminded me that cowl necks need pretty huge amounts of fabric, can’t easily be pieced together, and on top of that, the silk satin in her gown is more of the heavyweight duchesse variety than something very drapey that would cowl nicely. And while I love a low back, it does make things awkward for bras and any sort of shapewear, too.

So I had a bit of a wake up call and told one of my bridesmaids to keep reminding me that “This is just one dress. It is not all dresses.” (thanks, Stacy!). Yes, I like cowls. But I also like other things, too. And I do not need to put everything I like into one dress!

A seafoam green Ruby Slip (and matching panties)

The Ruby Slip is a free pdf pattern and comprehensive set of tutorials over at Pattern Scissors Cloth, and as soon as I saw it, I knew it was just the most perfect pattern ever for me and I had to sew it ASAP!

I had 2m of seafoam green silk in my stash that I’d bought at Bhopal Fabric on Brick Lane over the summer (at £6/m), so I took a swatch of that along with me to MacCulloch and Wallis just before Christmas to buy lace specifically for this. Their lace selection isn’t great, but I totally fell in love with this stretch lace, made up of seafoam green, grey, and brick-red flowers, and it was the required 18cm for the pattern. It was pretty eye wateringly-expensive at £14/m, but I ended up with a silk matching lingerie set for £40 exactly, so I think the economics of my decision were sound.

Sherry has done an incredible job going through all the ins and outs of lace cutting, bias silk sewing, how to do an FBA, etc, but I did get a surprise when I found that 18cm lace is not wide enough for the side front:

Since I went out and bought the lace specifically for this, I was a little annoyed, but I was also feeling flu-ish so I sat down with my copy of Bridal Couture and hand-pieced some lace from my scraps to make up the missing corner. It involved a ton of tiny hand stitches in both seafoam and brick to get everything to match seamlessly, but I’m pleased with the end result (she’s since posted some ways of dealing with narrow lace).

I also wanted to demonstrate how much you need to pay attention which cutting lace. I was paying heed to all of the scallops in order to get them in join up nicely at the seams, but I totally didn’t see that my motif was off at first. Happily, I had enough to re-cut that piece to have a nicer join over the seam (seen on the right).

Right, all that aside, and let’s see some finished photos! But, er, not modeled on me since there’s see-through lace and I’m not an exhibitionist. So you’ll just have to take my word that I squealed with delight when I first tried this on, because the fit is just perfect! The bias skirt really just hugs my curves without being tight, and everything just fits like it was meant to be. I made the “short” version, and the hem lies about 3-4 inches above the knee, which is perfect for me.

Birthday dress – just a peek!

Happy birthday to me! I’m 34 today, and to celebrate, I’ve been making myself a special sheath dress designed by none other than Matthew Williamson from the September 2012 issue of Burda magazine!

If you’ve been following along, then you know I’ve been super busy for the past few weeks and it was a bit touch & go whether I’d finish this dress in time to wear to my special Mystery Birthday Dinner tonight. I’m proud to say that I did finish it in time, thanks in no small part to the snow cancelling our Saturday afternoon plans and giving me time to huddle down and sew! (It did not cancel my run though – we still ran 19 miles in the snow & fierce winds)!

Unfortunately I didn’t finish in enough time to take daylight photos last night (plus it was snowing sideways & not exactly ideal photoshoot weather!), so I can only offer you some dressform photos right now, but hopefully we’ll be able to get a few shots of me dressed up before dinner tonight.

But — while everything’s fresh in my mind, I thought I’d tell you about the construction of the dress, and how I handled some of the trickier aspects of it.

I decided I didn’t want to fiddle about with a muslin for this dress, so I did the next best thing and sewed up the lining first, just to double check that my sole alteration of raising the waist 1”/2cm was right, and everything was okay.

After that I cut out the shell and facings from the purple duchesse satin, and the next hurdle was to attach the curved facings to the curved neckline and sleeves of the lining. The neckline wasn’t too bad, but the sleeves were a total bear! For this reason (and a bit that became apparant later, too), I’d recommend sewing the side seams dead last, after the lining and shell are joined at the neckline and sleeve edges, and then sewing the side seams. This means you can attach the facings flat, for starters…

A different kind of lingerie success

I’ve made three bras so far, and despite winning the PR Lingerie contest last year, I’ve never been that happy with the fit of any of those bras. I mean, they were okay, but the style is different to the kind of bras I buy, and the underwires dug in, and well, the girls just didn’t look their best. So they’ve kinda worked their way to the bottom of my lingerie drawer, which makes me sad. I sew to wear, not to shove in a drawer!

As I mentioned last week, I got very excited about the notion of sewing a bra made with foam cups, which are the sort I always buy, and speaking to Kellie at The Sewing Chest, she got me all set up with the right bits to have my first go. I made a toile using her purple hearts foam cups over the weekend and the fit is so good I wore it all day Sunday and now again Monday!

I started the process by making a rigorous comparison of the Kwik Sew 3300 pattern vs two RTW bra backs and ended up drafting a back similar to a Ted Baker one that fits me well.

Here you can see the difference between the KwikSew back (in brown) and my newly drafted-from-RTW back (in white) –