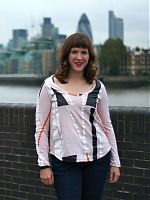
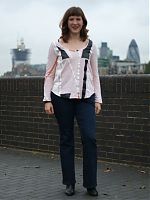
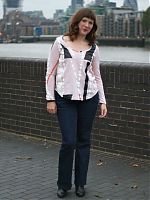
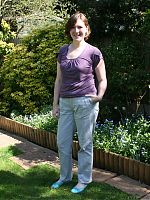
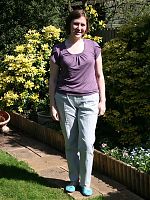
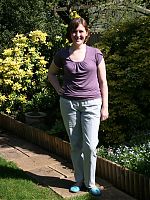
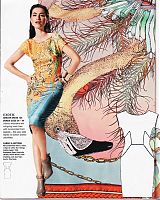
The first Jalie jeans

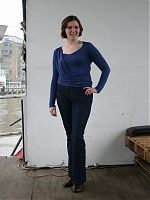
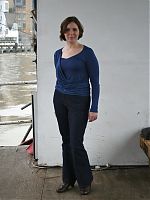
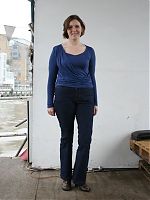
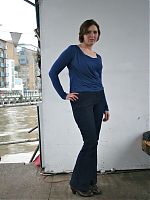
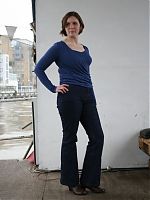
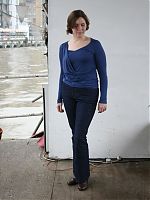
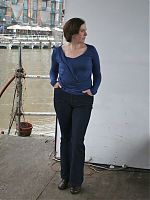
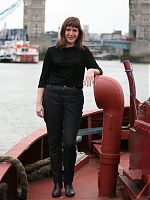
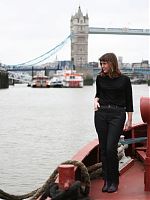
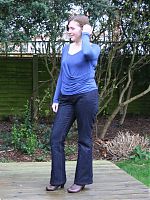
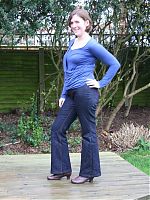
The ladies at the Walthamstow meetup got a sneak peek of my new jeans on Saturday, but now everyone can have a look at my (mentally counts…) sixth pair of jeans!

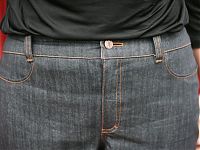
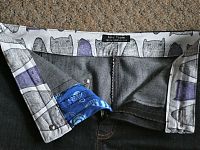
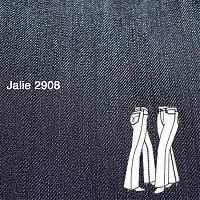
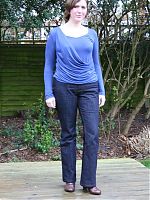
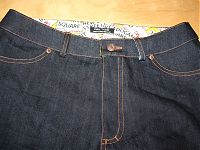
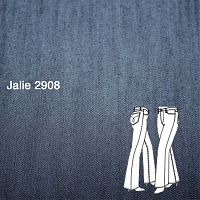
I wanted to try out the Jalie 2908 jeans pattern in cheap fabric before I broke out my good stuff, so I made these using some cheap stretch denim from Goldhawk Road, bought for £3/m. It’s papery and stiff and smells kinda like petrochemicals when you iron it, but it was taking up room in my stash and was good enough to try out the pattern (and good enough for wearing round the boat, too!).

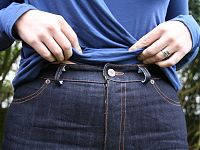
I made the regular rise version (as opposed to the low-rise) and I knew these were bootcut, but wow, this has a VERY flared leg! But the fashion mags can’t stop going on about how flares are big for SS11, so I suppose I’m ahead of the pack with these. I think the rise here is good and comfortable, and the crotch curve, bottom, and thigh fit my “white girl pancake butt” really well. The leg length on these was almost perfect for me, too – I only needed to add 1-2 cm past their hem line (I usually have to add more for Burda trousers, and nothing at all for Knip’s).

Cycling Jeans No3

When you find yourself literally patching the patches on your first pair of cycling jeans, it’s the world’s way of telling you that you need to drop everything and make a replacement pair ASAP. Since I started cycling to work in January 2016, I’ve found my own balance of form and function to make cycle commuting work with my casual office. Since my commutes have only ever been 30-35min, it’s not really worth cycling in full lycra, so I tend to wear whatever bottoms I’d plan on wearing at the office (unless the forecast is wet, in which case I do wear lycra & pack a full change of clothes in my backpack).

Parisian jeans and a geometric Wiksten tee

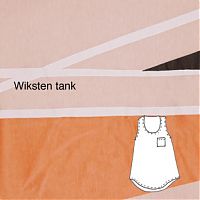
As some of you may have guessed from my FW2012 shortlist I posted yesterday, I’ve made the Wiksten tank, using the pattern and geometric Mood jersey Kollabora gifted me and also another pair of Jalie jeans! I wasn’t actually planning that they’d go together, but they were a perfect pairing for a relaxed Sunday roast at a cosy pub near the moorings.

Let’s start with the jeans – as I said earlier, my NY-Lon jeans are easily my most-worn item of clothing ever since I made them last year, but they’re starting to fade and I want to have a replacement pair ready before they totally die. The denim I used there was from Mood in NYC, but I’d found some great stretch denim at the Tissues Dreyfus coupon shop in Paris in March, and only €10 for a 3m length, too. I wouldn’t normally buy that much of the same fabric if given a choice, but it means that I’ve got enough left over to easily make another pair. I find it really difficult to find good stretch denim in shops, but this has good stretch and recovery without being too flimsy, so I snapped it up when I saw it.

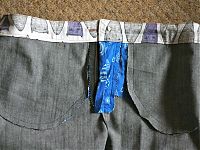
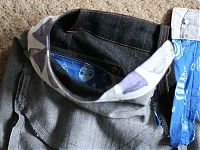
I constructed these exactly the same as my NY-Lon jeans – again, my main deviations from the Jalie pattern were to use a Burda curved waistband (instead of their rectangular, bias-cut waistband that was just awful in my muslin pair), and extended the pocket linings to the centre front for a non-stretch “gut slimming” panel, as before.

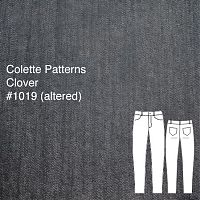
My Colette Clover jeans

A few months ago, I went and sewed up the Clover trouser pattern for the first time, in dark green sateen. Having fixed the zipper (my own mistake), I realised that I love the great fit of these trousers, but they’d be even better with traditional pockets and a front fly more like jeans… in fact, I’d actually just like some Clover jeans.

So that’s exactly what I did!

I first altered the pattern to create the front pockets (and I extended the pocket lining piece to the centre front to make a “gut slimming” panel), add a fly-front, and extend front waistband to match the fly underlap. I also added back pockets and belt loops off another jeans pattern. I didn’t bother to draft a back yoke as I actually prefer the look of jeans without them, and the back darts just disappear into the pockets anyway.

This stretch denim is ex-designer from Ditto Fabrics and it’s the exact same stuff I used in these designer jeans (I loved it so much I bought more). The pocket linings and waistband facings are fun Spoonflower cotton prints – Rainy Day Doodles for the pocket linings and fly underlap, and foxes for the inner waistband (the latter by my mate Galia!).

The NY-Lon jeans

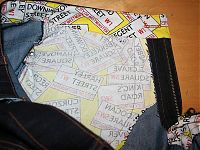
Why “NY-Lon” jeans? Well, it’s certainly not because they’re made of nylon fabric!! (ewww) I’m calling these that because I bought this denim at Mood in NYC on our honeymoon, and the lining pieces are London streetsigns fabric, bought as an eco reusable wrapping paper! So they’re New York and London together!

Once again, these are made using the Jalie 2908 jeans pattern. The first Jalie jeans taught me that, overall, the fit was great, but the waistband was an utter horror.

So I made two small but significant improvements to these, and I am SUPER happy with the result!

  1. I ditched Jalie’s awful straight, bias, uninterfaced waistband and used the curved waistband from my favourite Burda August 2006 trousers/jeans, which I also interfaced. I used the London street sign cotton as the inner waistband (as well as the fly underlap and the pocket linings).
  2. I extended my pocket linings to the centre front so they got caught in the fly front stitching and reinforced the front over my gut (you do NOT want stretch denim stretching out there when you sit – it’s not pretty!)

A plum tulip top and seamed silver trousers

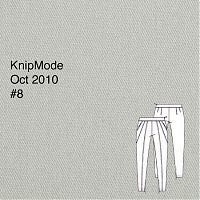
I’m finally over my post-wardrobe exhaustion and able to sew again, so I carried on with my March mini-wardrobe plans and made the seamed trousers from KnipMode Oct 2010 (#8):

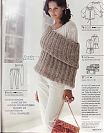
(hmm, why are they covering the waistband in their only magazine photo?)

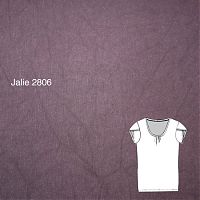
I also thought I was due a “quick knit top” so I pulled out Jalie 2806 (a gift from LynnRowe on PR!) so I could try out those fantastic tulip sleeves, with the thought of maybe using them on the spring/summer version of my Burda September cover dress

I had just enough of Ditto‘s wonderfully soft and supple plum bamboo/lycra jersey leftover from my plum and green lace top for this, so it was clearly meant to be! For the trousers I used the same Fabric.com stretch twill as in my navy riding trousers, though in different lights this goes from looking pale grey (nice!) to baby blue (not so nice!). But the combo of pale trousers and dark top feels very Spring-like to me.
Happy 2020! (My year in review)

Happy new year! I always like to take the opportunity on the start of a bright new year to look back on the year that was – what I made and loved, what I made and swore at, and other big life milestones that will make 2019 stand out in my mind. And because I love stats, I also like to take a step back and get an overview of what I’ve been making to get an eye for any trends that may have escaped me at the time…

Happy 2016! (My year in review)

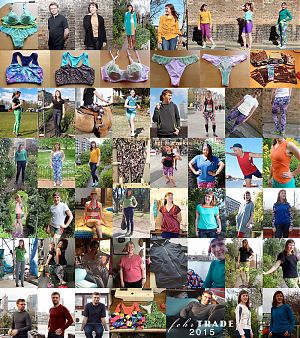
Each year I like to take the first of January to look back on what I’ve sewn in the previous year. So while this post is a celebration of the new year, it also helps me to put into perspective the year that has just gone. Somehow I always think the year has been a bit low on finished makes until I put everything together for the year’s collage!


Click the image to see it better, or right-click here to see it in a new tab to get a better look!

Tip: If you’d like to skim back through the posts for the above projects, you can click Gallery in the top menu, which will only show you finished projects, without all the magazine reviews and in-progress reports getting in the way! (Though a few of the makes in the bottom row I haven’t blogged about yet!)

The Year in Stats

In terms of pattern companies used this year, I made:

  • 25 FehrTrade patterns (I put my money where my mouth is I guess!?),
  • 9 Seamwork magazine,
  • 6 Self-drafted (including traced from RTW),
  • 4 Jalie (well, the same sports bra pattern four times!),
  • 3 from the Great British Sewing Bee: Fashion in Fabric book,
  • 2 Burda Style magazine,
  • 2 Style Arc,
  • 2 Orange Lingerie,
  • and 1 each from La Maison Victor magazine, Named, Paprika Patterns, Imagine Gnats, Simple Sew, and Kwik Sew.

By my count, I made: 21 tops, 19 trousers (including leggings & shorts), 2 jumpsuits,
2 dresses, 10 pieces of lingerie (bras, panties, slips, etc), 1 bikini, 2 jackets/coats/cardigans and zero skirts (!). I made presents for my mom, sister-in-law, niece, and nephew, and James also received four tops and a pair of lounging bottoms this year, the lucky guy!

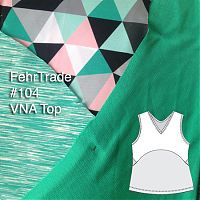
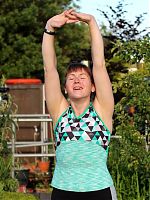
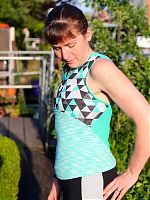
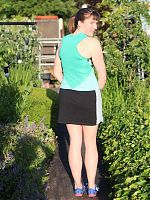
My teal mixed-print VNA Top and bonus booty shorts

I showed you a casual version of my new VNA Top pattern a few weeks ago, modeled by my athlete friend Anne, but one of the great things about this pattern is that it works equally well for both exercising and lounging about. Just change the fabrics and go up a size and it’s ready to throw on with jeans!

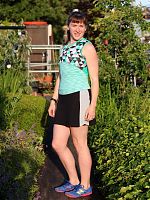
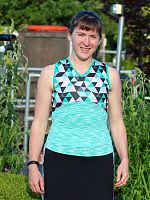
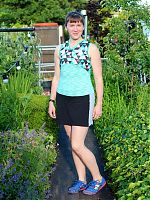
Since you’ve already seen one casual version, I wanted to show you my favourite workout version – actually, this might be my favourite workout top ever – I just love how the fabrics coordinate together!

If you’ve used any of my patterns before, you know how great they are for using up small pieces of fabric – because sportswear fabric can be expensive and I hate wasting anything, but also because it means you can coordinate tops and bottoms really easily! I made this VNA Top using a Spoonflower print I fell in love with, printed onto their Performance Knit base (though now that they’ve released their Performance Pique, I actually prefer that to the “knit”!), and when it finally arrived, I saw that the teal colour in it coordinated perfectly with the mint space dyed supplex I had leftover from my minty XYT Workout Top, but also with a bunch of mis-printed “Run to the Beat” technical tees I got given for refashioning. I couldn’t believe my luck!!

I cut the Upper Front in the Spoonflower print, the Lower Front & Back from the “hint of mint” supplex, and the Back and Bindings from the refashioned race tee. Three different fabrics in one top, but the shared teal colour mean they look great together!

Birthday dress – just a peek!

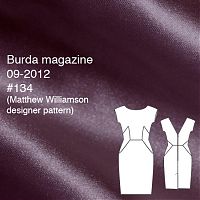
Happy birthday to me! I’m 34 today, and to celebrate, I’ve been making myself a special sheath dress designed by none other than Matthew Williamson from the September 2012 issue of Burda magazine!

If you’ve been following along, then you know I’ve been super busy for the past few weeks and it was a bit touch & go whether I’d finish this dress in time to wear to my special Mystery Birthday Dinner tonight. I’m proud to say that I did finish it in time, thanks in no small part to the snow cancelling our Saturday afternoon plans and giving me time to huddle down and sew! (It did not cancel my run though – we still ran 19 miles in the snow & fierce winds)!

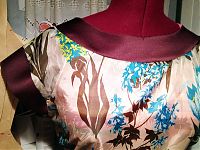
Unfortunately I didn’t finish in enough time to take daylight photos last night (plus it was snowing sideways & not exactly ideal photoshoot weather!), so I can only offer you some dressform photos right now, but hopefully we’ll be able to get a few shots of me dressed up before dinner tonight.

But — while everything’s fresh in my mind, I thought I’d tell you about the construction of the dress, and how I handled some of the trickier aspects of it.

I decided I didn’t want to fiddle about with a muslin for this dress, so I did the next best thing and sewed up the lining first, just to double check that my sole alteration of raising the waist 1”/2cm was right, and everything was okay.

After that I cut out the shell and facings from the purple duchesse satin, and the next hurdle was to attach the curved facings to the curved neckline and sleeves of the lining. The neckline wasn’t too bad, but the sleeves were a total bear! For this reason (and a bit that became apparant later, too), I’d recommend sewing the side seams dead last, after the lining and shell are joined at the neckline and sleeve edges, and then sewing the side seams. This means you can attach the facings flat, for starters…